
One of my favorite things to do this fall is to can jams and butters! There is just something about making something from scratch and having it last you for the next several months. I also love the idea of using the foods that the Lord has given us and using them in more creative ways.
I have posted before that I've made strawberry jam, however I didn't actually post HOW I make jam. So I wanted to share this really easy recipe with you!
Strawberry jam is actually one of the easiest things to make. It only requires a few ingredients and (in comparison to other jams and butters i've made) it doesn't take too long.
Strawberry Jam
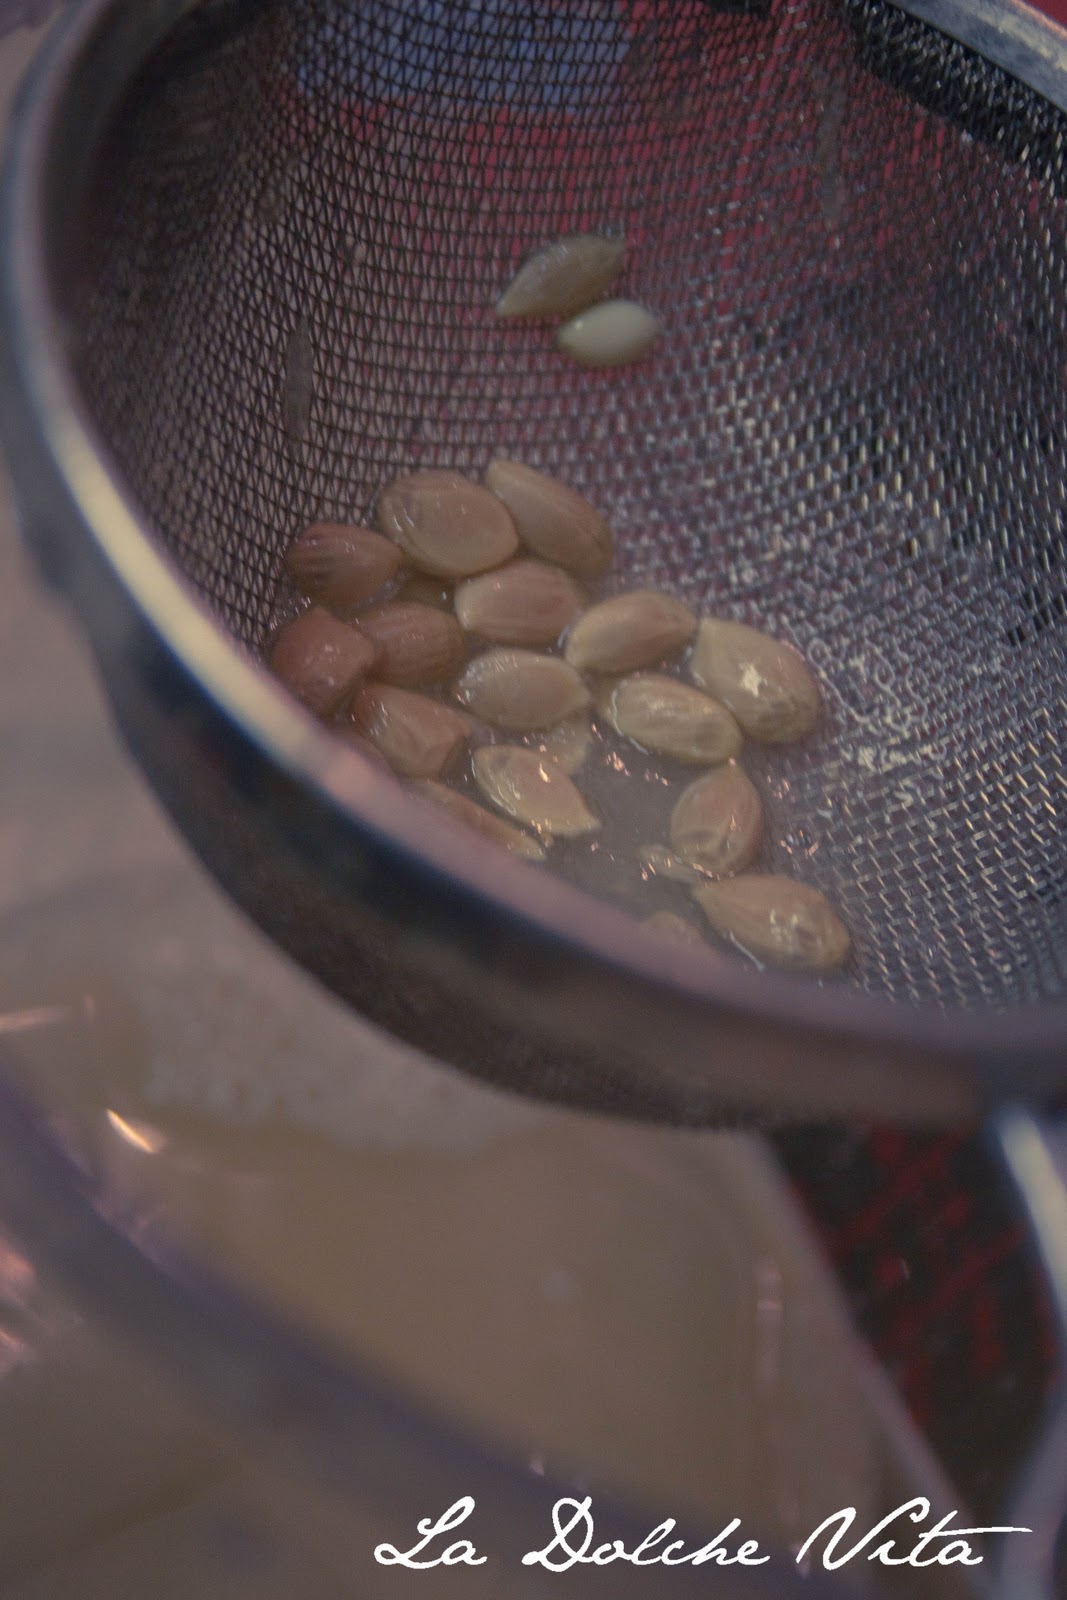
6 packages of Strawberries
4-7 cups of white sugar
2 package of no-sugar pectin
3 Lemons
Large stock pot
Water bath canner (These aren't terribly expensive. I got mine at Target for about $30 and it came with a kit with everything you need. You can invest more in a canner if you want, but mine works just fine for me.)
about 8-9 1/2-pint jars with fresh lids (If you have old jars around you can definitely use those! Just make sure to purchase fresh flat lids for each can. You don't want to reuse those because it won't seal properly.)

Step 1: Fill your water bath canner with water (enough that it will be about 1-2 inches above the jars) and put it on high heat, it will take a while to get hot enough.
Step 2: Cut the strawberries into small pieces.


Step 3: Take a potato masher or meat masher and mash up the strawberries as much as possible. Then pour the strawberries into the large stock pot.

Step 4: cut 3 lemons in half and squeeze out as much juice as you can. You can squeeze them into a strainer to avoid the seeds from going into the juice. Mine made about 1/3 of a cup.
Step 5: Pour the lemon juice into the strawberries and mix thoroughly (This is to help the strawberries to avoid changing colors after being canned)

Step 6: Turn the heat on medium and add the package of pectin. Mix thoroughly and bring to a full boil (The kind of boil you can't stir out)

Step 7: Begin to add the sugar. Begin with 3 cups and allow to simmer for about 5-10 minutes. Spoon out some jam, allow it to cool and if it stiffens up and becomes the consistency you want, then it is finished. (Also taste it, if it isn't sweet enough add more sugar and allow to cook in a few minutes) (You can also skim off the foam from the top as it boils. But put it in a bowl, you can still use it as jam on bread! It's really yummy!)
Note: If the jam isn't thick enough, add more sugar, allow to cook a few minutes and spoon some out again. You want it to become almost like a gel consistency.
Step 8: While the jam is cooking, take your 1/2 pint jars and you want to sterilize them. I found a really easy way to do this while searching the internet one day. Take the jars, take off the lids, and put them on a baking sheet. Put them in the oven at 250 degrees for at least 10 minutes. Once you are ready for them, pull them out of the oven and fill immediately.
Step 9: Take the flat lids and place them in very warm water to soak until ready to use. (I put mine on the oven and put it on low)

Step 10: Once the jam is of the correct consistency, take your jars out of the oven and begin to fill them. Make sure to use the jar "funnel" so you don't make too much of a mess. Fill the jars so that there is about 1/2 inch at the top for what is called "head" space. This allows the jar to seal properly.
Step 11: Use the magnetic lid lifter to take the flat lids out of the very warm water and put them on the jars and close them with the screw on top. This will hold the lid in place til it seals.

Step 12: Place your jars into the water in the canner. Place the lid on top and allow them to sit in the boiling water for about 7 minutes. (You don't start counting the time UNTIL the water begins to boil)
Step 13: When the time is up, use a hot pad (I prefer the full gloves) and pull out the jars with the handles and hook them over the sides so the bottom of the jars are slightly in the water. Take the jar gripper and pull out each jar and place it on a towel to cool

There are two ways to tell that they have sealed properly.
1. You will hear it make a popping sound. That means that the top has popped down and it is sealed.
1. You will hear it make a popping sound. That means that the top has popped down and it is sealed.
2. After it has completely cooled, touch the middle of the lid and if it makes the popping sound it didn't seal. In this case, you can either sterilize a new jar, and re-can it. Or just stick it in the fridge and eat it right away!! (I like the second option :)
You now have yummy homemade jam!! If you have ANY questions let me know and I will do my best to answer them for you!
What are some of your favorite kinds of jam?

No comments:
Post a Comment